How to Use Your Laptop As a Monitor – Step by Step

install and update graphic drivers – 1time for external link
Since many people now work from home, you may need two screens to be more productive. However, you don’t need to rush to buy a new screen. Whether you want to boost your productivity or just put a video aside while playing or working, the comfort provided by a two-screen setup is indisputable. Try it and you’ll love it. To the point where it’s hard to switch back to a single screen afterward. In order to know how to use your laptop as a monitor in the best possible way, it is important to go through this step of learning how to configure the system to support two screens, a step that we will cover in this tutorial. Don’t panic, Microsoft has simplified the process, which is accessible to anyone.
How to Use Your Laptop As a Monitor – Step by Step
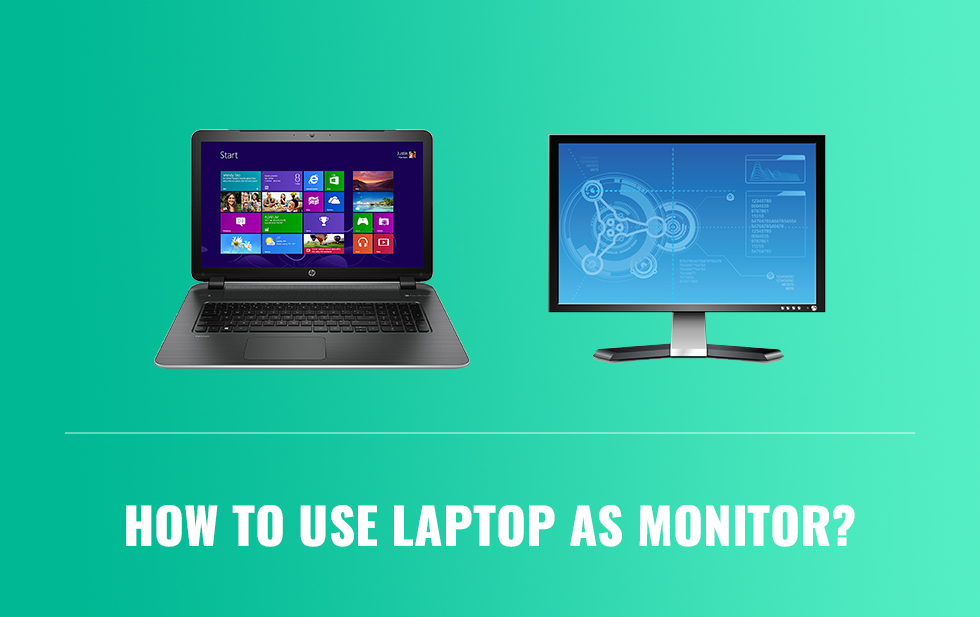
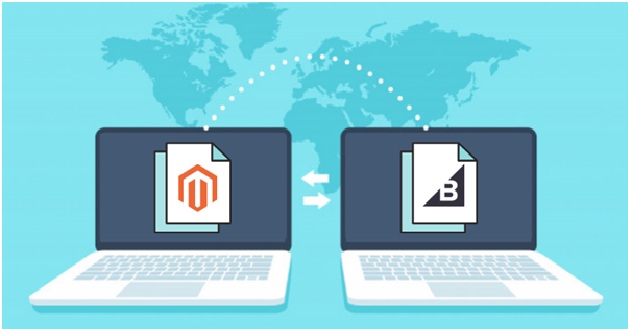
If you have a laptop running Windows 10, then you can connect it to your PC or another laptop to serve as an additional monitor. Windows 10 offers this feature and is easy to set up. The connection is wireless, so it’s not quite the same experience as having a second monitor connected by cable, but it can be useful if you’re stuck and need a solution.
However, you may encounter a problem with the detection of the main computer. This simply means that you will need to update your drivers because the connection fails. To do this, you will just have to install and update your graphics drivers automatically. This process can be done both manually or automatically, it’s totally up to you.
To get back to the point, since the process utilizes Miracast, you could even use your TV as a monitor, for this you will need the Microsoft Wireless Display Adapter.
If you use a laptop as your main computer, you may run out of ports. However, with docking stations, you can add USB ports and video outputs to connect monitors.
Setting up a laptop as a second monitor
Before you start, make sure that the monitor(s) are properly connected to the PC. Once you have made sure, you’re good to go. Here is the configuration process to use your laptop as a monitor:
- Open the Start menu by clicking on the Windows logo in the lower-left corner of the interface.
- You will then see a wheel icon in the column to the far left of the pane that just opened, just above the Power button. Click it to access the Settings.
- Then select “System” at the top left.
- By default, you will land in the display options. In most cases, the computer is supposed to detect your various connected screens. If it does not, click the “Detect” button to make it try to recognize them.
- Then, scroll to the bottom of the dialog box to land in the “Multiple Displays” section. In “Multiple Displays“, choose the setting that suits you best. “Duplicate these displays” allows you to have the main display on both screens (and thus duplicate). This is especially useful when using a monitor with a laptop as the CPU. “Expand these displays” allows you to display a larger working area. A particularly effective option with two monitors positioned side by side, glued together if possible, and with thin borders for a better effect. In short, your two monitors become one. With “Show only on 1“, screen 2 remains unused. The same idea with “Show only on 2“, screen 1 remains black.
You have configured your setup with two screens, enjoy! In the same menu, you can also set up night lighting to adjust the brightness when it starts to get dark, change the resolution of the screens, the scaling of the elements, or the orientation of the display (portrait or landscape). Adjusting colorimetry, refresh rate, and other more advanced settings is another story.
Conclusion
That’s all folks! Here’s a step by step guide on How to Use Your Laptop As a Monitor. Hope that it will be of great use. And do not hesitate to let us know about your ideas in the comment section below


